
QuickBooks Portable File – Logos, Images, Form Templates
If you need to restore your QuickBooks Desktop portable file in a different folder location or workstation, your company logo, image, or template files won’t come over – because they are not contained in the portable file itself. Bringing those over is fairly straightforward, giving us the opportunity to illustrate restoring all three types.
Where Are Logos Used in QuickBooks Desktop?
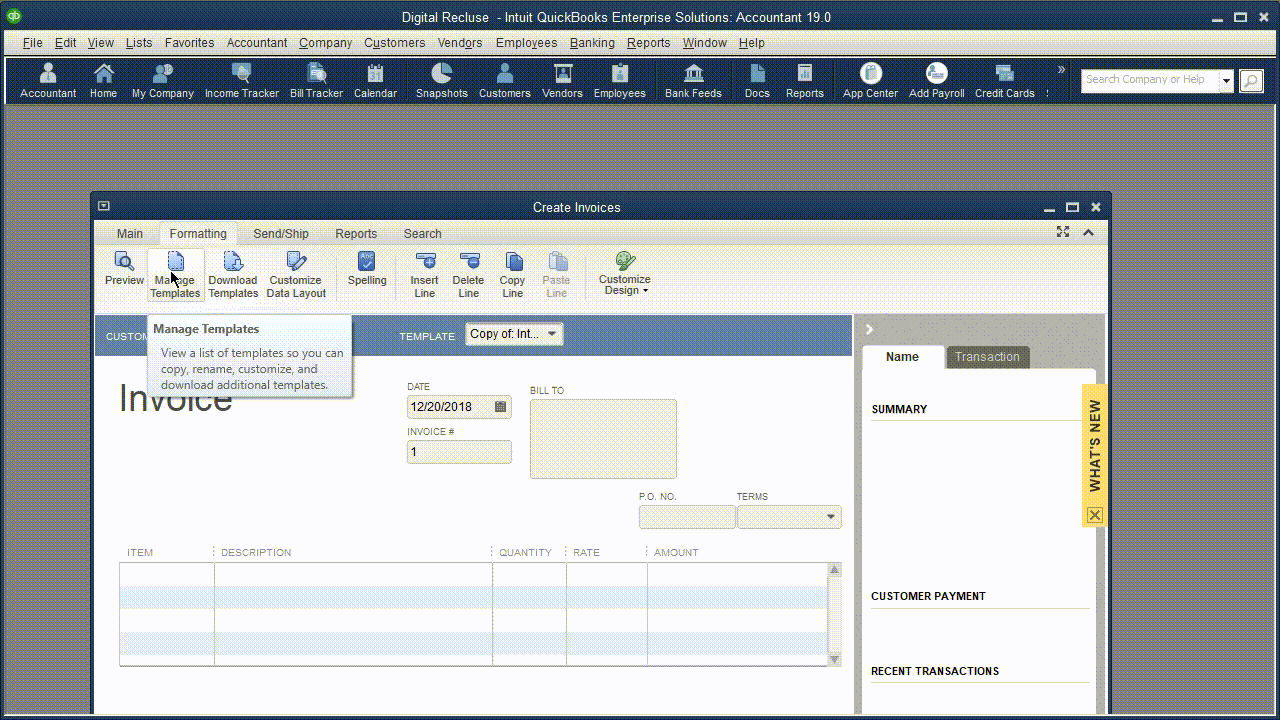
They Are Used in Customizing Your Form Templates
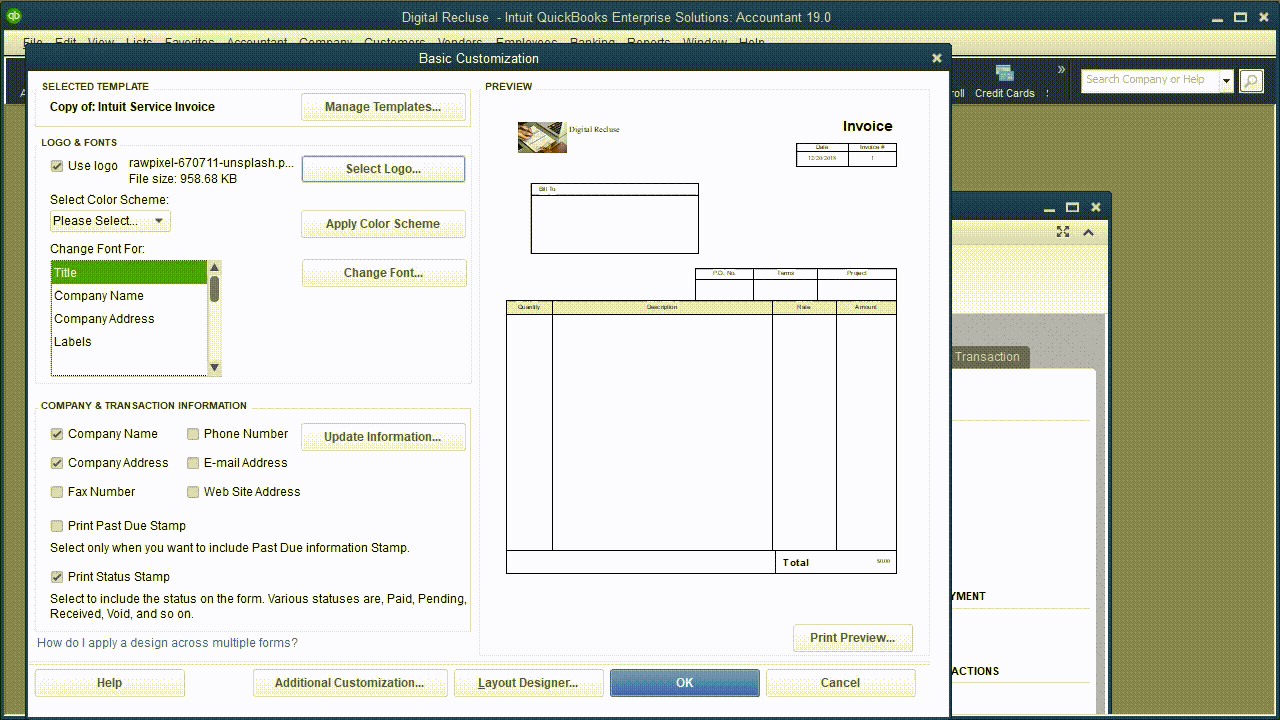
A logo, in QuickBooks Desktop, is an image representing your company logo.
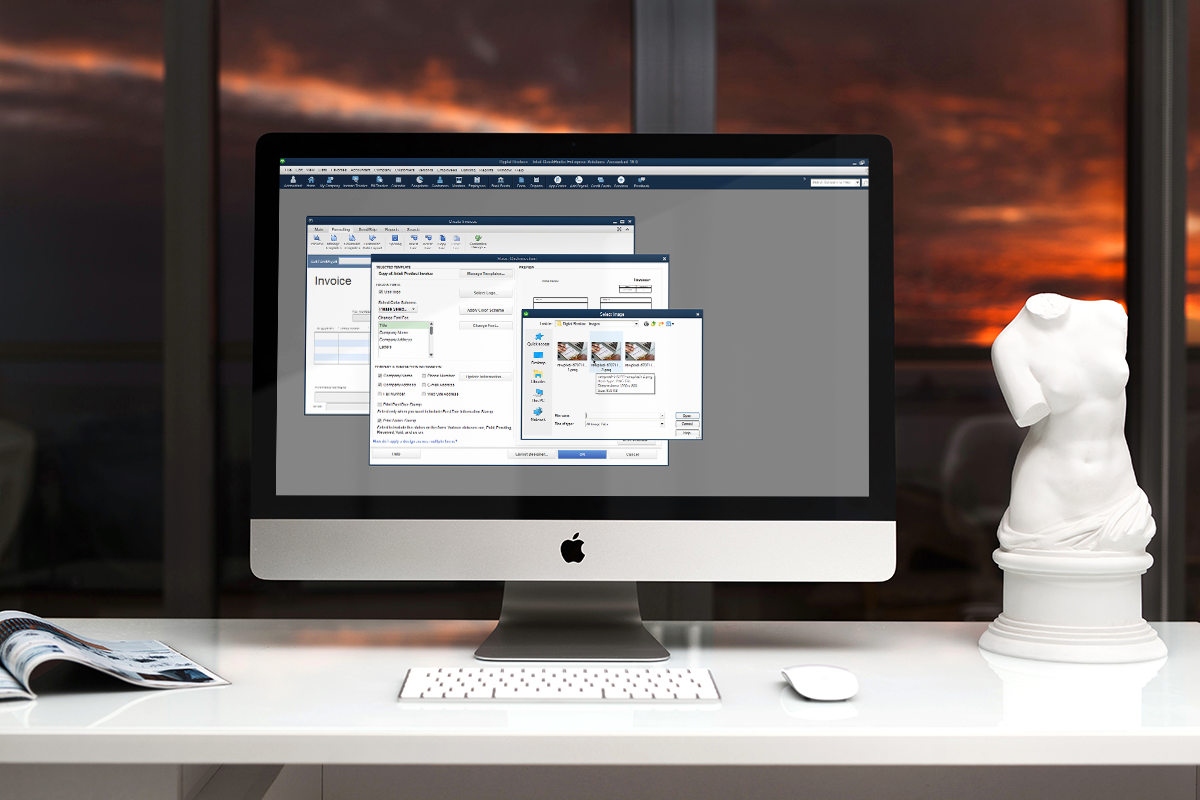
Adding your company logo is just one step to personalize your invoices, sales orders, purchase orders, etc. in QuickBooks Desktop. Other steps include changing fonts, color scheme, displaying company or transaction information; columns displayed on a form – on screen in QuickBooks; in print to share with customers or vendors; or both of those display methods.
You can truly customize a form to YOUR liking that fits your voice/vision.
During the image selection process, as it was shown, the default folder will be named “Your Company Name” – Images. This indicates the logo chosen could be any one of the image files stored therein. Given this, clarity in file naming helps to clearly identify your logo file. You can also point to a different folder in the process, with QuickBooks copying and pasting the image chosen into the default image folder.
As depicted, you will be prompted about copying the selected image into the default folder QuickBooks Desktop uses.
QuickBooks Desktop Adapts the Image Size to Fit Within the Logo Space on Your Template
The image selected has a pixel dimension of 1200 x 800. Clearly QuickBooks Desktop has shrunk the image size accordingly. You can, then, adjust the image on the form you are customizing by going to Layout Designer.
Layout Designer in QuickBooks Desktop is Where You Adjust Logos/Images, Columns, Fields for Your Forms
Whenever you add or remove columns, field boxes, and images, expect to use Layout Designer to make sure everything remaining therein properly fits.
Once your logo is set to your liking, click on “OK” at the bottom of Layout Designer’s window. This doesn’t solidify the logo into the form you’re customizing. You would just click on the “OK,” in the window you started with – when you clicked “Customize Data Layout” within the “Formatting” tab of a form you seek to customize. Once this is done, it will be solidified as a personalized form template you can select during the transaction creation process.
How Do I Backup or Restore My Logos & Images for QuickBooks Desktop?
You will want to archive the folder into an organizationally agreed upon location – clearly labeled.
- Copy the folder named “Your Company File Name” – Images located in the same area as your company file.
- Paste it into a folder of your choosing to back it up.
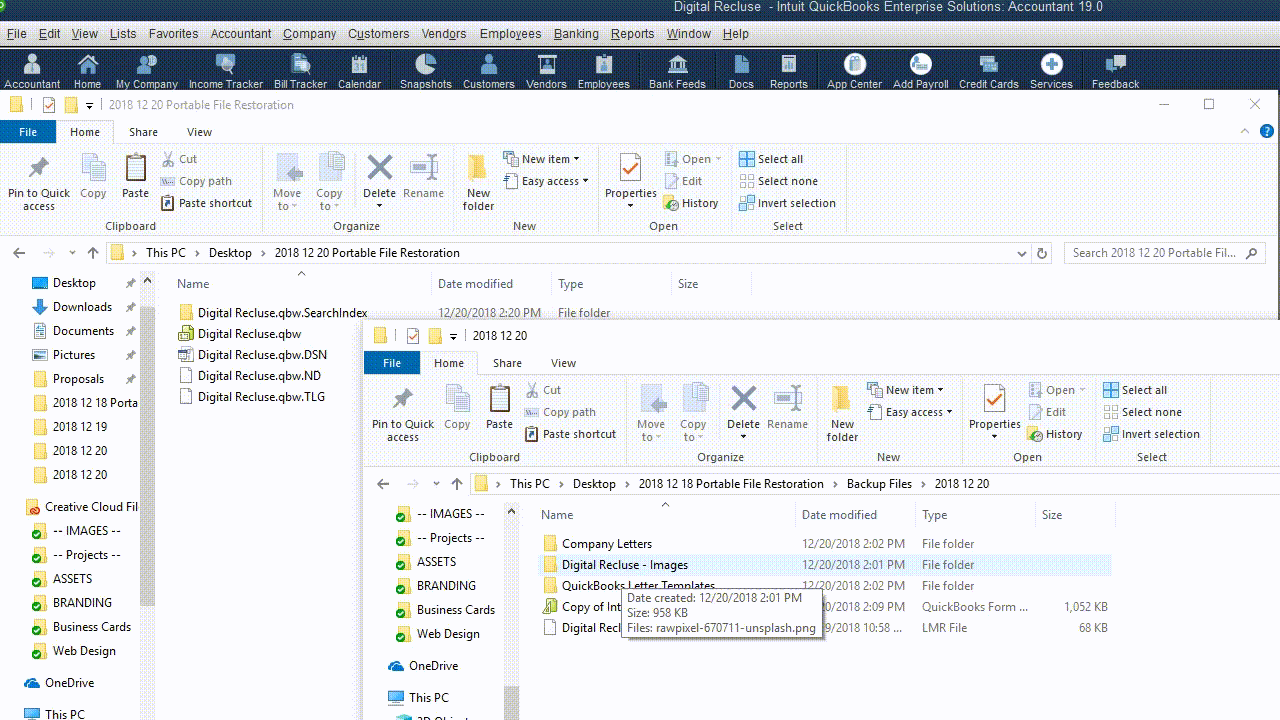
As you see, a newly restored QuickBooks Portable File will not have the expected images folder, until you copy and paste your backed up folder.
- In the designated back up folder: Click once on the folder containing your images.
- Click “Copy”
- Then open the folder where your company file will be or is.
- Click “Paste”
At this point, your files should show up the next time you point QuickBooks Desktop to an image file for a logo; or adding an image while in Layout Designer. This segues into the next aspect: backing up or restoring your customized templates themselves.
How Do I Back Up My Customized Form Templates in QuickBooks Desktop?
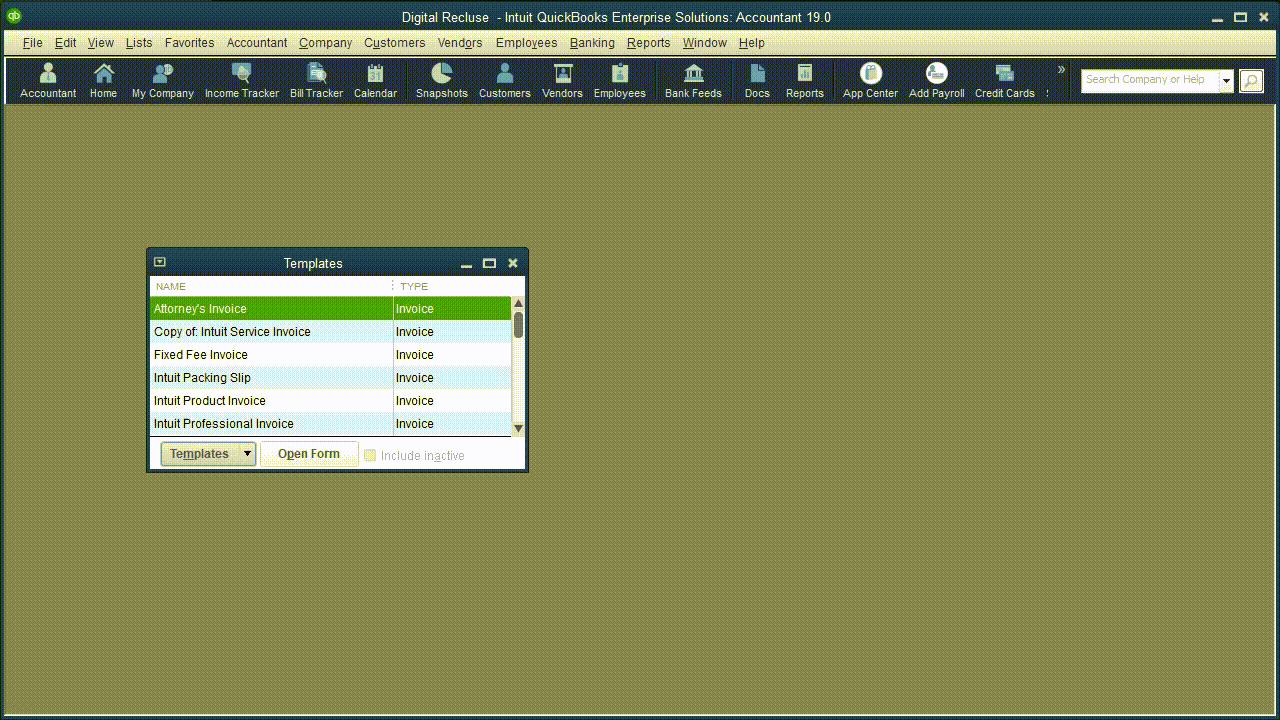
Your templates belong to your QuickBooks Desktop Lists. You can create, edit, delete, and import/export templates.
The applicability of this process extends to the presence or absence of your base templates template folder; whether or not your templates have been discovered as “damaged”; or if your QuickBooks Desktop; installation has to be moved – for example. To save or back up your template, here are the steps:
- Go to “Lists”
- Then, go to “Templates”
- Click once on the one you want to back up.
- Click on the arrow, right of the “Templates” button
- Click on “Export”
- After confirming where you want to save the template, click “Save”
How Do I Restore My Form Template in QuickBooks Desktop?
Again, applicability of doing this depends on the situation with your overall QuickBooks company file and/or installation.
In your “Templates” List:
- Click the arrow button, right of the “Templates” button
- Click “Import’
- Locate Your template file (.DES)
- Click “Open,” once it is found.
What’s Next in Restoring My QuickBooks Portable File?
We will look at restoring QuickBooks Statement Writer information, after restoring your QuickBooks Desktop Portable File. We discuss what it is; what it is for; how to use it; and how you might lose that data – so you can restore it with or without involving a portable file. As you await the next installment in the series, feel free to get a refresher on
- How to create a portable file, and why
- Restoring Fixed Asset Manager
- Restoring QuickBooks Loan Manager